


Quality Tile Pool Installations Easier than Ever
Pool installations are expected to trend upward through 20271, fueled by rising disposable incomes. Though the pool industry is still recovering from its pandemic dip, pools continue to be a highly valued amenity and a great way to experience the social and health benefits they offer. Tile offers construction versatility, stunning design options and outstanding durability with less maintenance than other materials. Whether for residential or commercial use, tile pools require meticulous attention to detail for proper installation. Fortunately, manufacturers of today’s advanced installation systems are making quality tile pool construction and maintenance easier than ever.
Preparing for Pool Tile Installation
The first step for proper tile pool installation is to waterproof and prevent cracks in the concrete shell. Review the manufacturer’s system warranties before choosing products. Apply a waterproofing and crack isolation membrane directly to the concrete pool shell to address both negative hydrostatic pressure (water pressure that comes from under or behind the pool’s substrate) and positive hydrostatic pressure (pressure placed on the substrate by the pool water). Crack isolation at this stage, helps prevent ground water from leaking up through any cracks in the shell. Verify that the membrane chosen is suitable under the mud/mortar bed, the next step in the prep process.
The application of a mud/mortar bed will level the concrete surface to ready it for tile installation. Incorporating a latex additive will help smooth and strengthen the floor mud layer, allowing it to achieve the substrate qualities required. Tile size dictates the flatness requirements. For a tile that has all edges under 15” long: no more than 1/4” substrate variation in 10’ and no more than 1/8” substrate variation in 2’. For tile having at least one edge over 15” long, the requirements are twice as strict: no more than 1/8” substrate variation in 10’ and 1/16” substrate variation in 2’.
Following the application of the floor mud, a secondary crack isolation and waterproofing membrane should be applied, such as TEC® HydraFlex™ Waterproofing Crack Isolation Membrane. HydraFlex membrane has twice the crack isolation properties of leading competitors and creates a watertight surface. The crack isolation will help keep cracks from telegraphing up to the tile. It is always wise to test the pool tank for leaks after completing this stage of waterproofing, then wait 12 hours .
Adhering the Tile
The tile size and composition help determine the optimal adhesive or mortar to use to install the tile in the pool area. While several different products may be required, look for advanced options. New TEC® TotalFlex® XMS Tile Adhesive is a unique ultra-versatile, advanced technology product. In a category all its own, this pre-mixed, ready-to-use adhesive is ideal for interior or exterior pools, water submersion, clear/transparent glass tiles and even challenging gauged porcelain panels on pool room or area walls. This tile adhesive saves installers significant time and effort through robust non-sag/non-slump properties, extra smooth troweling, application to just the tile back or the substrate (not both), long open time (60 minutes), and accelerated curing*. In addition, TotalFlex XMS is highly resistant to wide freeze/thaw fluctuations and can be applied in temperatures from 40ºF to 95ºF (4ºC to 35ºC). With this game-changing adhesive, tile pools can now be repaired, installed and refilled in as few as eight days after grouting, whereas a traditional mortar would require 28 days to reach full cure.
Finishing the Pool Tile
Once the tile is ready for grouting, choose a grout appropriate for a wet or submerged environment. Power Grout® Ultimate Performance Grout easily meets the requirements for wet and submerged applications. Designed to fill joints as small as 1/16” and as large as 1/2”, this grout is crack and shrink resistant, stain-proof**, efflorescence free and ready for traffic in just four hours. It requires no sealing and exceeds the requirements of ANSI A118.7. Extra strong, the grout stands up to pool chemicals, weather and the high foot traffic at commercial pools.
Finally, address any change of plane or movement joints with sealant – a 100% silicone product is recommended. Silicone will remain flexible and weather resistant. All movement joints are specified in the TCNA Handbook section EJ171 and should be honored throughout the entire installation. To ensure the pool’s longevity and beauty, make sure that proper maintenance is performed regularly.
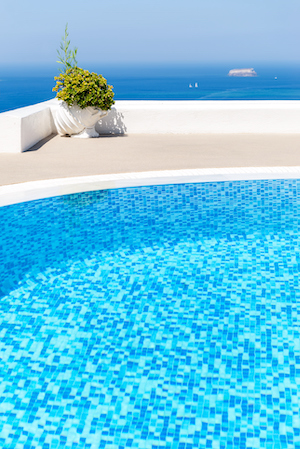
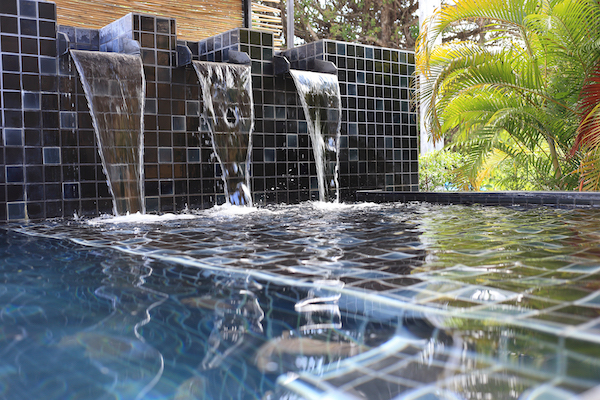
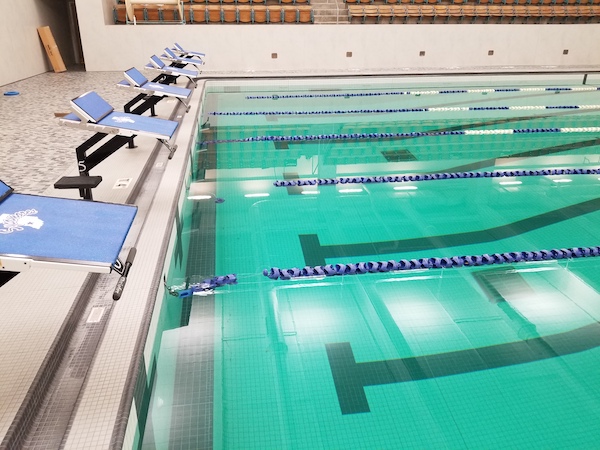
A tile swimming pool is a long-lasting, rewarding investment for both residential and commercial property owners. From an Olympic-size regulation commercial pool to a custom spa surrounded by water features, pools deliver recreation, fun, fitness and stress reduction. With today’s advanced products and techniques, installers can efficiently and effectively construct a tile pool that retains its beauty and function to deliver enjoyment, and value, for many years.
1The 5-year CAGR is 3.3% according to Expert Market Research Report “United States Swimming Pool Construction Market Report and Forecast 2022-2027”
*Grout in as few as 12 hours
**Power Grout is stain proof to most common water-based stains when cleaned immediately.
Article Written By Chris Kain


