


– sponsored content –
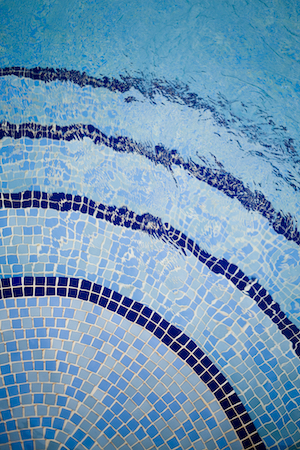
A beautiful tile pool adds value to any property, and tile adds beauty to pools. Proper installation practices ensure that the beauty and functionality of a tile pool will be long-lasting. With any submerged tile application, the installation becomes a bit more complex. Contractors can manage this complexity by leveraging tile installation systems designed for the successful construction of pool or water features.
Preparing Pool Walls and Floor
Best practices require the tile installer to know every detail about the pool tank’s substrate. The tank must be concrete and prepared properly. Start by systematically cleaning the entire surface to make sure it is free of contaminants and debris. Based on the condition of the concrete, cleaning may be shot blasting or just a simple scrub and sweep. Next, complete a thorough inspection to find all cracks, joints, changes in plane, or existing drains, jets etc. and treat by applying a waterproofing crack isolation membrane according to manufacturer instructions. This membrane will protect the pool from damage from ground water below and keep cracks from telegraphing up through the tile.
To flatten the pool walls and bottom to acceptable levels, install a latex modified mortar bed. Once the mortar bed has cured, further protect the substrate by applying another waterproofing and crack isolation membrane, such as TEC® HydraFlex Waterproofing Crack Isolation Membrane. TEC HydraFlex has twice the crack isolation properties of leading competitors, to protect the installation from cracks and the substrate from water damage. Make sure to flash all joints, seams and corners using waterproofing mesh, as instructed. Then two coats of the membrane can be rolled, troweled or sprayed on the pool surfaces. HydraFlex conveniently turns from light to dark purple once fully cured. The next step is to perform a flood test to confirm the substrate does not leak. Always follow the manufacturer’s application instructions.
Installing Submerged Tile
Choosing the right setting materials for pool tile is essential to the performance of installation. Mortars, grouts and sealants should be engineered specifically for the pool’s location – an outdoor installation must incorporate safeguards against the natural elements. The size and type of tile also impacts the setting materials chosen. For mortar, large format tiles should be installed with a cementitious mortar designed for their large size. Smaller tiles and glass tiles require the exceptional bond strength and flexible properties of a product like TEC® Super Flex™ Ultra-Premium Thin Set Mortar, for either an exterior or interior application. TEC Super Flex has patented bonding technology with unsurpassed strength yet flexibility to handle 1/16″ in-plane movement of the tile. It also is white, which is ideal for enhancing the translucence of some glass tile. When working with mortars, make sure to use the exact amount of water and slaking time the manufacturer recommends.
During the installation, do not cover up expansion joints, because the installation will crack. Another critical consideration is the ambient conditions for the installation. Temperature can dramatically affect mortar handling with heat accelerating properties like open time, working time and pot life, and cold having the opposite effect. Consult the manufacturer instructions for how to mitigate the negative impact of weather on installation. Also, know the coverage requirements as installing ceramic or glass tile in an outdoor pool requires 95% coverage, while natural stone necessitates 100% coverage. If there are voids in the mortar under the tile, freeze-thaw cycles can cause failures. Achieving the correct coverage requires use of the proper trowel, product amount and technique. Installation guides from the manufacturer provide these critical instructions.

Finishing The Installation
Grout completes the overall appearance of the finished pool or water feature. TEC® Power Grout is an ideal choice for submerged tile applications, as it is the premier advanced performance grout for any tile installation. Power Grout can be used in grout joints ranging from 1/16″-1/2″ and offers crack/shrink resistance. Its breakthrough formulation is stain-proof and efflorescence free, which keeps the grout joint color-consistent for the life of the pool. Submerged tile has constant pressure from water on the grout, so maximizing grout strength is important. Adding too much water during installation weakens the grout and must be avoided.
Just like with mortars, ambient temperatures determine best practices for grout installation, and installers must adjust their technique to match conditions. When complete chemical resistance is needed, an epoxy grout is the best choice. Remember that epoxy grouts are difficult if not impossible to clean off tile once hardened, so use caution. The final step in completing the tile for a pool or water feature is to fill the expansion joints with a silicone sealant. Silicone provides the flexibility needed to manage a change in plane or a movement joint. Proper treatment of the expansion joints helps prevent unsightly cracks and possible failures of the tile installation.
Once completed, owners must do their part to ensure pool tile longevity by carefully maintaining water quality. With the installer and the owner taking all the right steps, a tile pool will continue to add lasting beauty and value to the property.
Article written by Ron Sheldon.


