– sponsored content –


Have you encountered a situation where your grout became soft, powdery, discolored or cracked shortly after installation? Perhaps you were installing a very absorptive tile such as an unglazed ceramic, terracotta, or porous stone. Or maybe you were working with a glazed ceramic tile, but the cut edges were unglazed and highly absorptive of moisture. The fact is that when you’re working with these highly porous materials, you may experience issues with grout caused by excessive water loss.
Grout is based on a hydration reaction. By adding water to cement, the cement particles “grow” together and interlock, providing structural strength. Grout can be prone to a moisture deficit caused by water loss from “thirsty” absorptive tiles, which can result in weakness and color variation. Furthermore, today’s narrower grout joints mean less cement material. That, coupled with a lack of water can prevent grout particles from expanding properly to create a solid, firm joint.
Knowing the amount of moisture the tile will absorb, selecting the right type of grout, getting the correct water mix and following the proper installation instructions are crucial to minimizing issues when working with absorptive tiles.
The good news is that these pitfalls can be avoided by following these seven simple tips:
1. Check the absorption of the tile
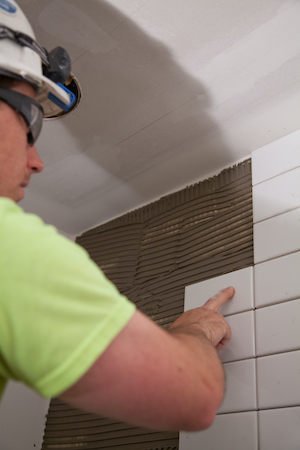

Many ceramic wall tiles are highly absorptive. An easy, old-school way to test is to pour a few drops of water onto the back of the tile and see how fast it’s absorbed. If the water is absorbed in less than 30 seconds, you have a highly absorptive tile and should take extra precautions.
Today, many tile manufacturers also print the water absorption percentages on the tile packaging. These absorption ratings are based on testing performed by the American National Standards Institute (ANSI) where tiles are placed in boiling water and then measured for their weight change from dry to wet. Here are the four ANSI tile absorption categories:
- Non-vitreous (water absorption greater than 7%)
- Semi-vitreous (water absorption of 3-7%)
- Vitreous (water absorption of .5-3%)
- Impervious (water absorption of less than .5%)
Categories A & B are considered absorptive tiles. In fact, many types of ceramic tiles can absorb as much as 10-20 percent of water in these tests.
2. Clear the grout joints of mortar
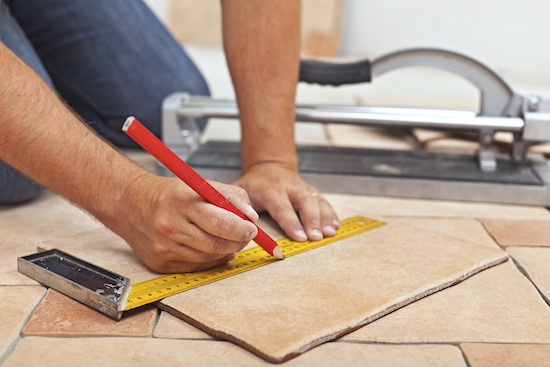
Larger tiles require more mortar for installation. However, smaller grout joints increase the risk of mortar to squeeze up through the joint. If the grout joint is not deep enough, there may not be enough grout material to form the essential cement particle bonds. The solution is simple: thoroughly clean out the grout joints so the joint depth is at least 2/3 of the tile thickness.

3. Use unsanded grout
Absorptive tiles make the choice of grout especially important. Sanded grouts add aggregate material to prevent shrinkage in the joints. This makes sanded grout ideal for flooring installations with heavy foot traffic and tile joints wider than 1/8″. However, sand particles that are too bulky for very narrow grout joints can prevent the grout from packing to an adequate depth. The lack of sufficient material can result in weak grout.
On the other hand, unsanded grout is a smooth mix of cement and powdered pigments. Unsanded grout is recommended for the majority of absorptive tile installations, and any installation with joints that are 1/8″ or less. Unsanded grout typically has higher cement content and a higher water demand. More water in the mix ensures the grout has proper hydration even with absorptive tiles. It also has excellent adhesive qualities and is ideal for vertical surfaces where tiles are extremely close together. You’ll also want to use unsanded grout when working with materials such as marble, limestone, and granite that can be easily scratched.

4. Mix toward the high end of the water range
Getting the optimal mix of water is another important factor when using sanded or unsanded grout. Grouts are formulated to a certain water-cement ratio that’s designed for the ideal grout installation and performance properties. With absorptive tiles, the right water mix is even more important.
Your best option is to mix the grout toward the higher end of the water range, without exceeding the manufacturer’s recommendations. Using more water in the mix will help ensure the grout retains some water for proper cement hydration. Be careful not to overwater the mix as this can adversely affect the grout’s performance.

5. Substitute a latex additive
Tiles that have high absorption can draw moisture out of the grout during installation. This can create a soft, powdery and/or blotchy colored grout joint.
One solution is to substitute a latex grout additive in place of water. A latex grout additive helps prevent the loss of moisture and ensures that the joint will be more structurally sound and color consistent. The polymer from the additive will also help the grout cure and provide extra strength. Of course, make sure the manufacturer’s products are compatible with latex grout additives before you decide to substitute them for water.
6. Dampen the substrate and tiles
The use of water is an important part of the entire installation process. Before grouting, use a clean sponge with potable water to dampen the substrate throughout the tile installation. Next, dampen the edges of the tiles with a light water spray bottle.
Finally, be sure to cover the entire installation with a breathable kraft paper for 72 hours. This protects the grout from environmental contaminants, plus it helps control the rate of moisture leaving the grout and ensures that it cures to a consistent color.
7. Use Premixed Grout
One other option to consider in installations of absorptive tile is to use premixed grout. Although some installers still prefer the flexibility and control from mixing powdered grout, premixed grout can be a good alternative for absorptive tile installations.
The bottom line
While grout is an important part of any installation, working with absorptive tiles can present challenges for any type of commercial or residential project. Avoid the issues that can cost you time, money and your reputation by following these tips to handle absorptive tile installations with ease. Visit the complete line of TEC® grout products here.
Article written by Chris Kain.


