TileLetter is the industry's leading tile magazine

Saturday, April 13, 2024

The industry’s leading tile installation magazine

HomeTechnicalStone showers shine with preparation and precision

Stone showers shine with preparation and precision

For this month’s Stone section, we take a look at stone showers completed by NTCA members Hawthorne Tile in Portland, Ore., and RMZ Custom Tile and Stone in Avon, Colo. 


Hawthorne Tile
Lake Oswego master bath
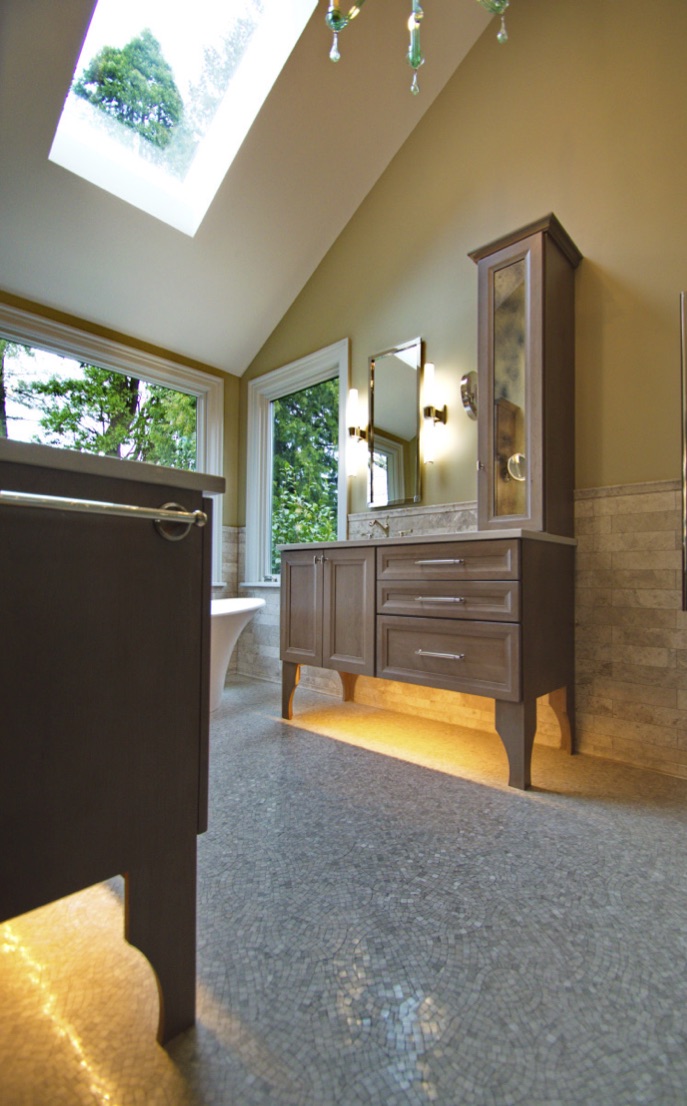
Lake Oswego master bathThis gorgeous master bath project for a Lake Oswego, Ore., residence was part of a three-month, full-home remodel, with extensive limestone used throughout, sourced from Artistic Tile. Due to hydronic heating in the home, the Hawthorne team set 150 ft. of 5/8” x 5/8” Whirlwind Smoke limestone floors to RH 141 in the TCNA Handbook.

Shon Parker (now with Schluter) was the project manager on the job, and admitted that widespread leveling was required prior to installation due to the wood substrate. “It gave us a chance to get the floors flat and do a barrier-free shower,” he said. 

In that shower, the crew employed the B442-18 integrated bonding flange method from the TCNA Handbook, with Schluter bonding flange and tileable cover. ARDEX 8+9 was used as waterproofing and crack isolation with Schluter Schiene strip. Wall tile was set over cement backer, also with Ardex 8+9. Another challenge in the shower was managing the incredibly fragile two-color limestone pattern – Artistic’s Smoke Limestone Claridges Stone Water Jet Mosaic. Parker said that Portland Marble Works – the Stone shower in Lake Oswego master bathfabricator who was doing the slab counters – waterjet-cut the inside corners “to keep the fine points of the tile from breaking on a wet saw,” according to the paper templates the crew created for all floor and wall cuts. Parker said Hawthorne Tile opted for the paper templates because the tile pattern was a unique shape. “The templates helped make perfect cuts each time, which helped the waste factor on such an expensive tile,” he explained. For the shower floor, the crew installed 130 feet of Lycian Aperlae Turkish Marble. 
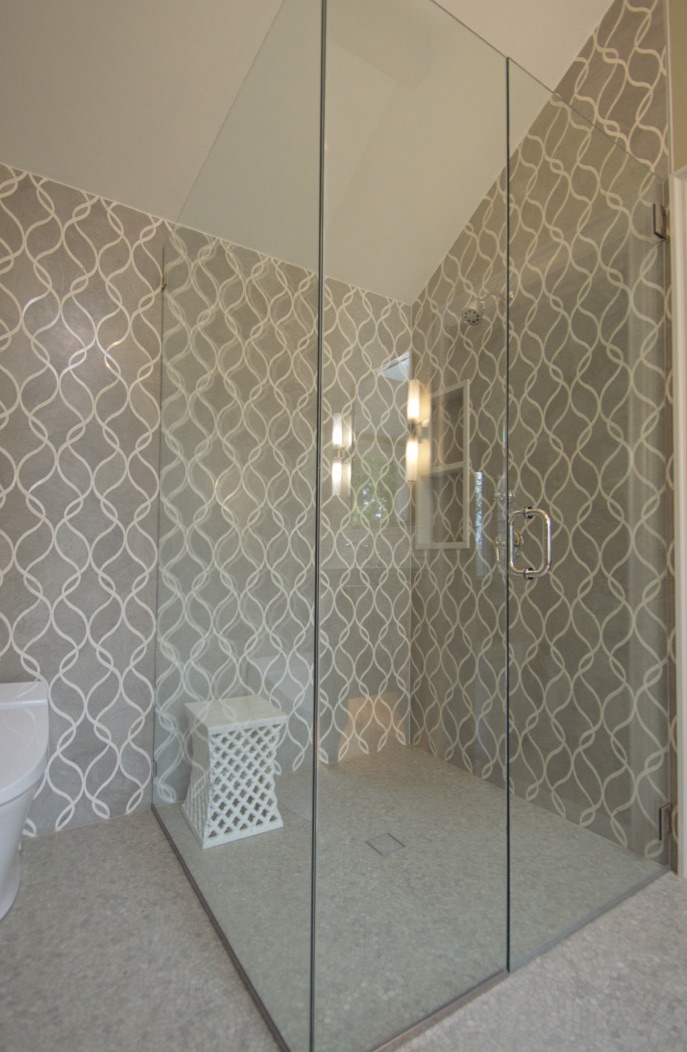
The project, which had ceilings that ranged from 8’ high to 14’ at the high end of the vault, also sported 6” x 8” limestone tile wainscot everywhere in the bath except the shower, to complete the look of the room. 
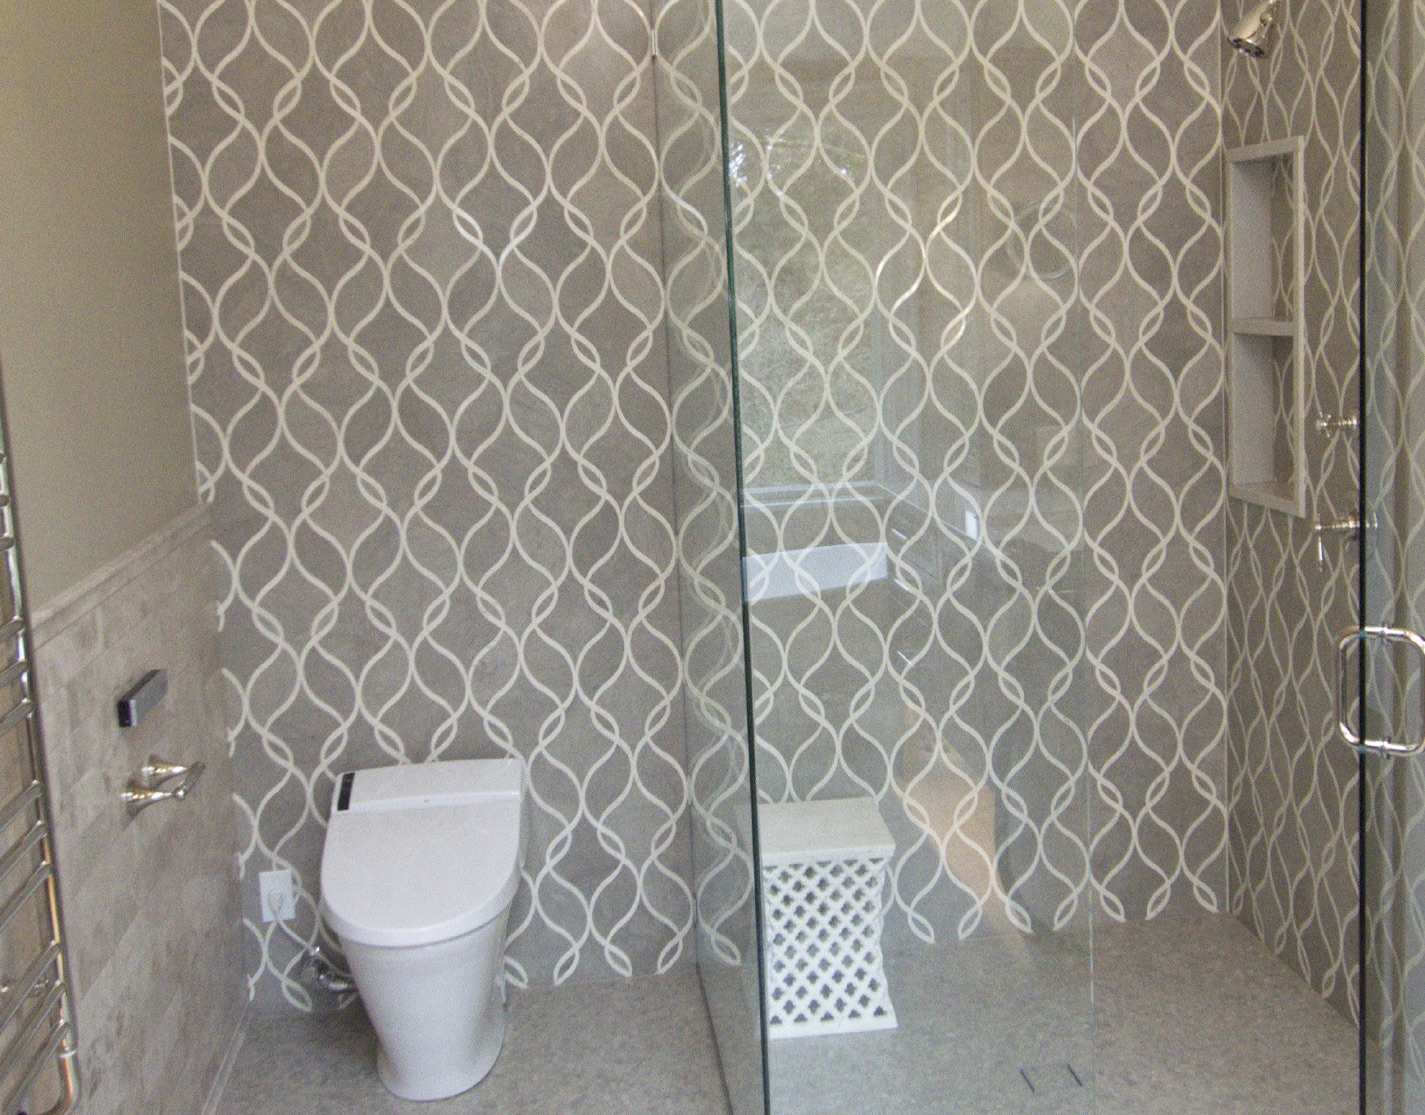
Lake Oswego master bath with stone showers

RMZ Custom Tile
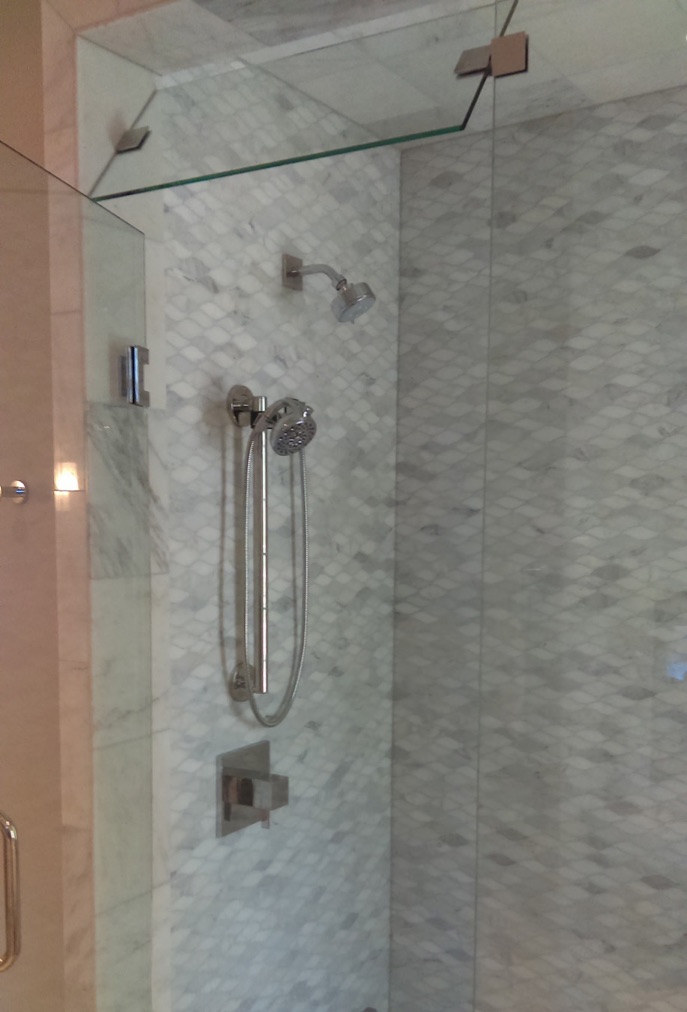
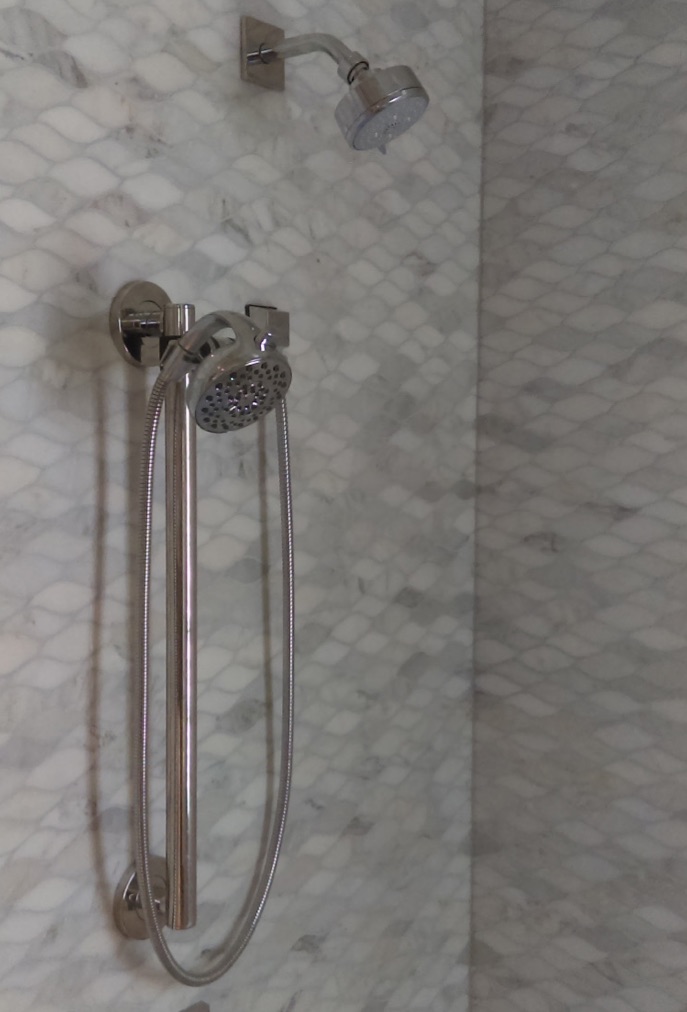
stone wave mosaic shower
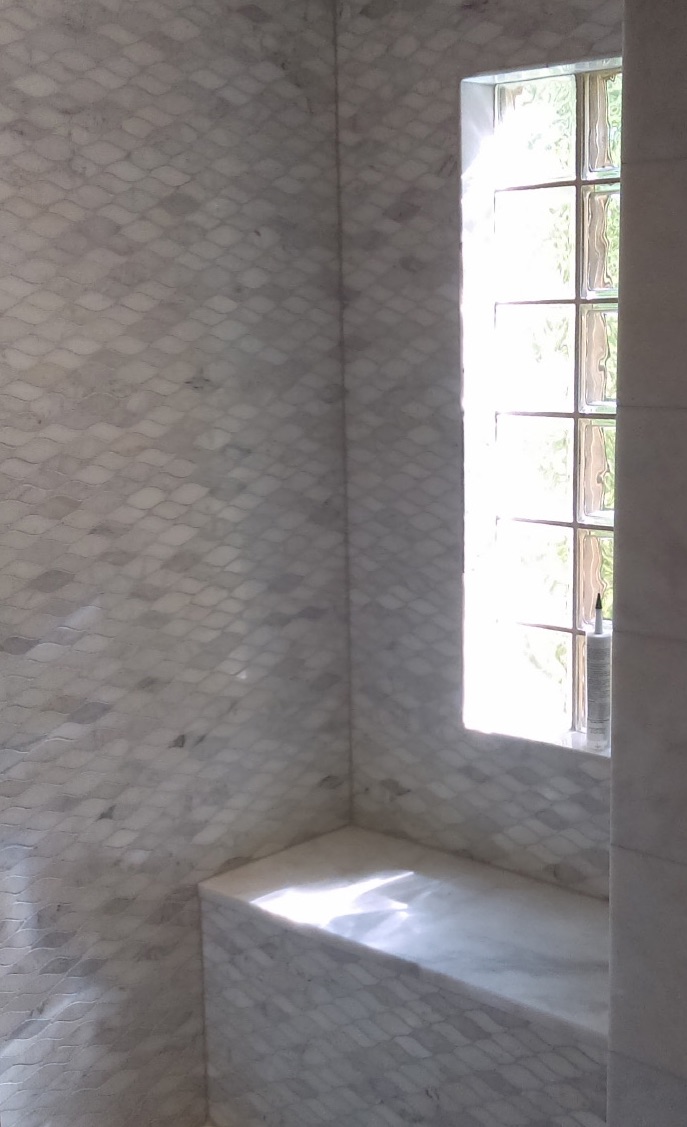
stone wave mosaic shower seatThe design of a stone wave mosaic in a shower install by Miguel Ramirez of RMZ Custom Tile mandated extreme precision on the wall prep. “One of the challenges was to get the wall prep perfectly plumb and flat since on that particular wave tile every corner had to match the return piece perfectly,” he explained. 

“One of the things that we had to do prior to installation was to lay every row for the entire shower flat and mark every wall where the cut was going to be to have accurate piece return and continuation,” he added. “That was the most challenge that we had, since we were using the drop cut as a return.”

The marble mosaic project consisted of about 180 sq. ft. of First Snow Wave Mosaic by Daltile. 

“For leveling I started with the framing, making it as true as possible, then added shims,” Ramirez said. “I also used wedi panels as a substrate.” Afterwards, using a straight edge, he applied a final coat of Custom Building Products’ ProLite mortar where needed to make sure the surfaces stone wave mosaic shower drainwere flat and plumb. He used the same mortar to install the stone, with a coat of StoneTech Impregnator Pro sealer applied before grouting with Custom’s Prism Grout. After the grout cured for a minimum of 72 hours, he applied another coat of sealer, and voila! A beautiful stone shower! 
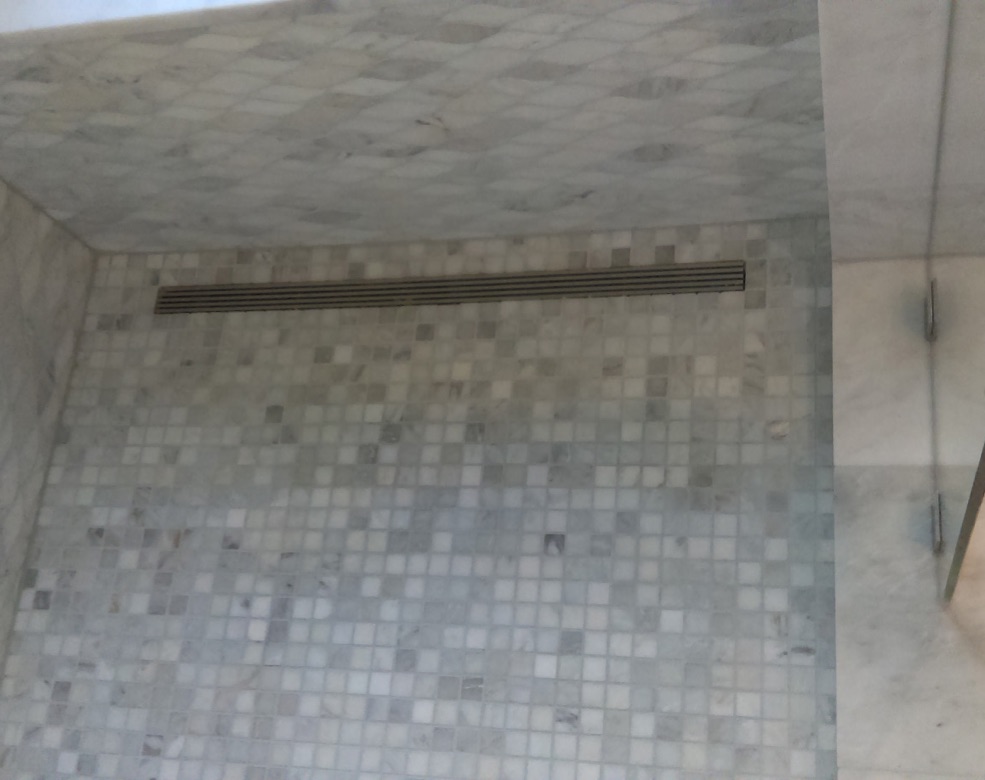
stone wave mosaic shower stone wave mosaic shower

- Advertisment -

Most Popular

- Advertisment -