


John Cox, in conjunction with Jim Whitfield of MAPEI, Rod Sigman of Custom Building Products, Martin Brooks of Heritage Marble and Tile, Rich Galliani of Galliani Tile Company and Steve Slutzah of Westside Tile and Stone, collaborated on this Q&A about issues that may arise with encaustic/hydraulic/cement tiles installation. Cox and his team are heading an effort to draft a document on these tiles for the 2021/2022 NTCA Reference Manual.
How widespread is the use of encaustic or cement tiles?
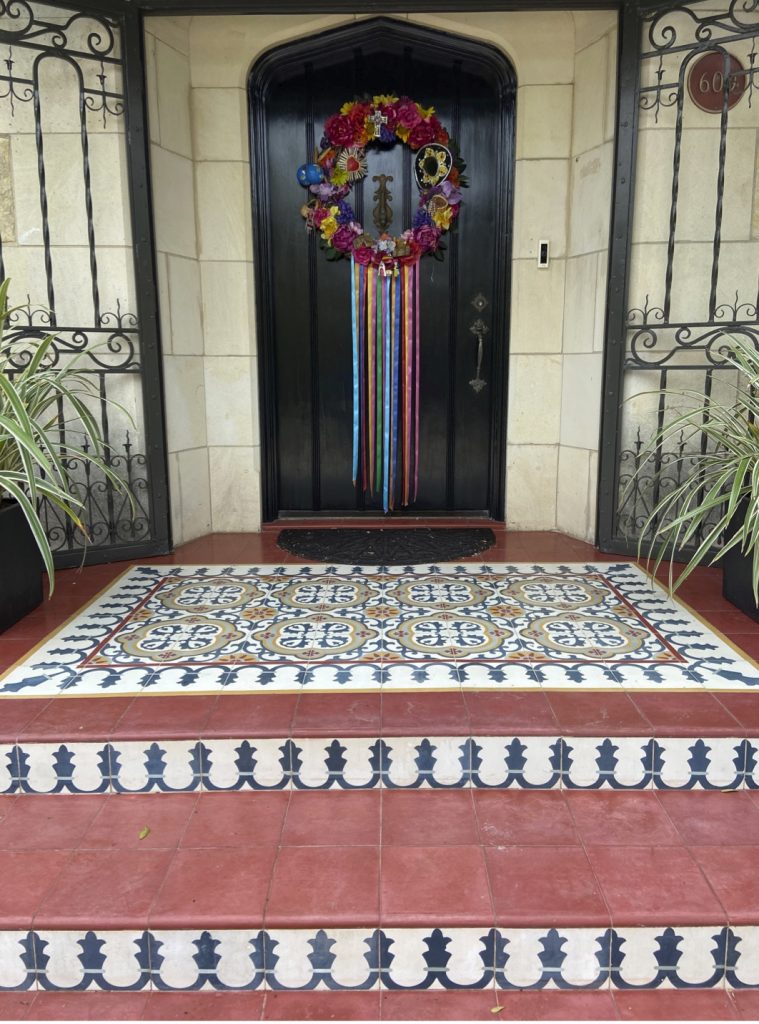
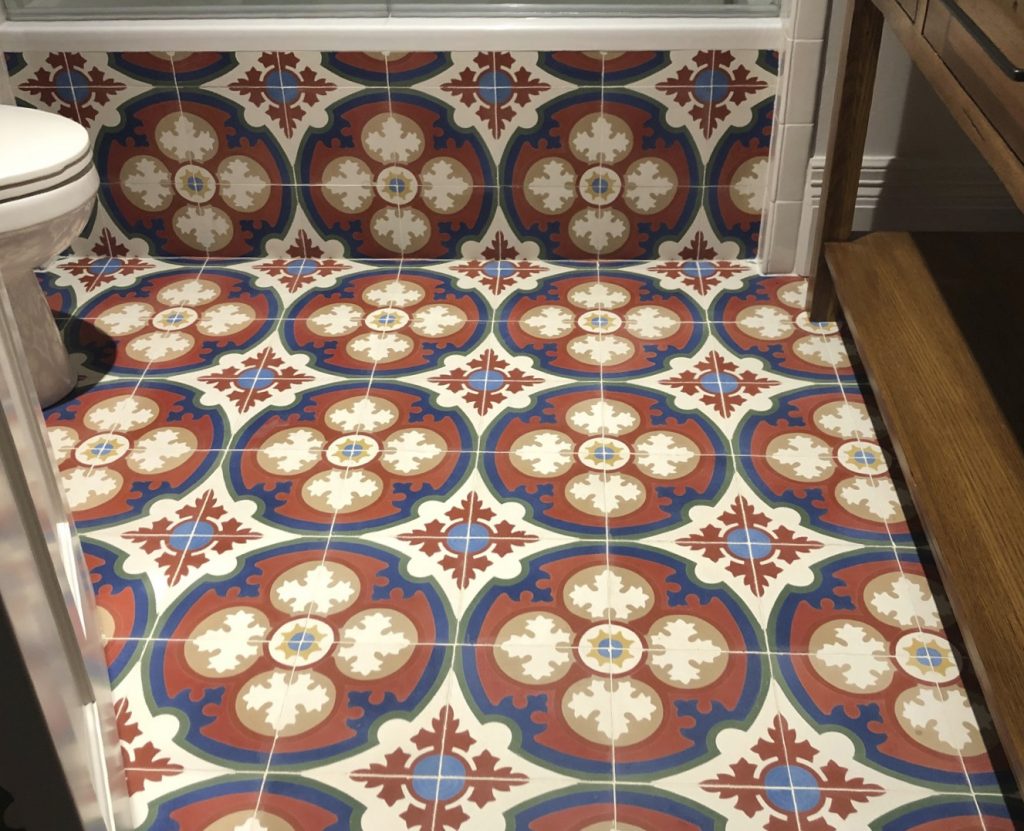
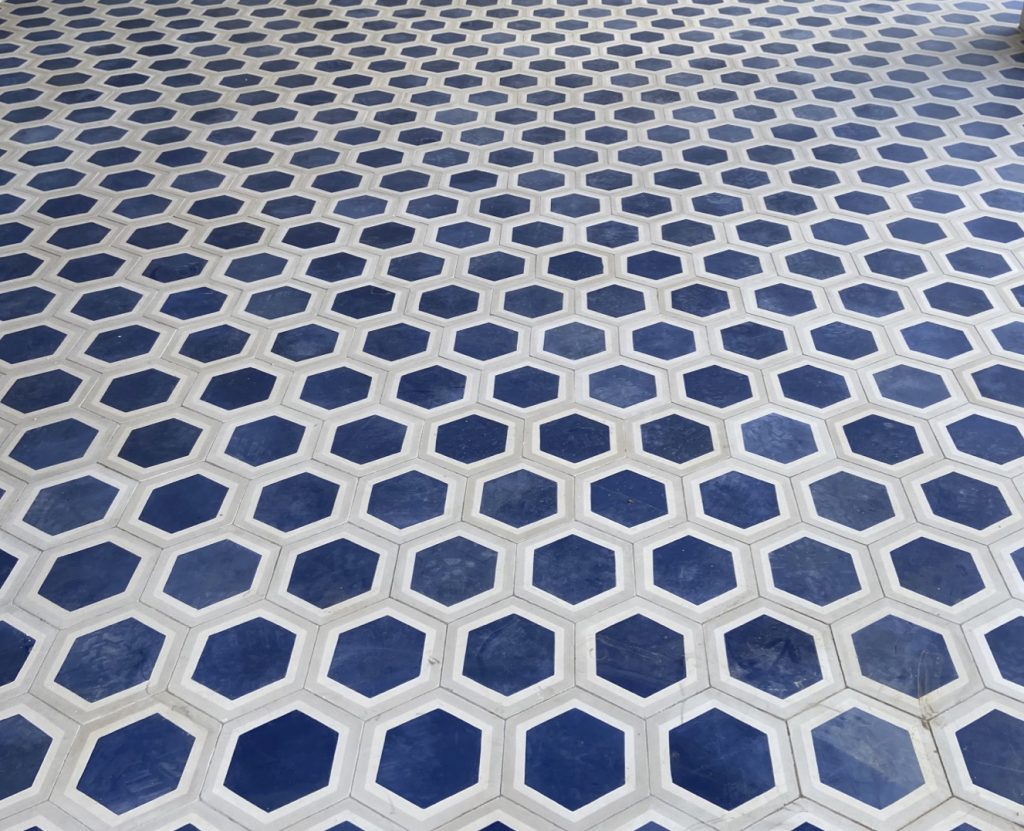
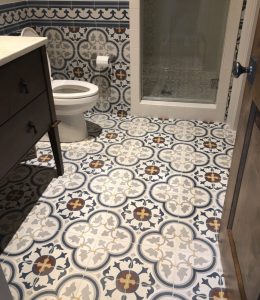
Cement tiles or hydraulic tiles are handmade tiles that originated in the 1850s in Spain. Due to the many colors and variety of the tiles, they have been used in Europe and the United States extensively. Cement tiles are not fired. They are a combination of fine dehydrated ground portland cement layer and a coarser layer of sand and cement. The pigment layer is hydraulically pressed into the surface and becomes a part of the tile. The name of the tiles has a variety of names: encaustic tile, Redondo tile, mission tile, and cement tiles.
They have been installed successfully for over 150 years, but there are challenges with installing these types of tiles. We will try to address some of the questions that arise. Some of the answers are redundant but apply to each individual question.
Some of the manufacturing origins today are from the U.S., Honduras, Vietnam, and Mexico.
What do contractors need to keep into mind for successful installs with these products?
These tiles are challenging to install due to sizing, moisture content, how fragile they are, and the porosity of the tile.
Customers sometimes ask to butt joint the tiles, but that will not meet ANSI specs of no less than 1/16”. Thickness variations of the tile create challenges installing them. The old traditional method of creating a mortar bed and beating the tiles in place was the preferred method before thinset was invented. Now using a heavy tile mortar, you achieve the same desired results of zero lippage. It is particularly important to follow the manufacturer’s instructions to install their product properly. These tiles do not meet ANSI 137.1 standards.
How should the contractor manage the porosity of the products? Does the porosity create issues?
Porosity is a huge challenge with these tiles, considering they are not fired. Some of these tiles will even have a high moisture content remaining from the factory. Check with a moisture meter before installation. Curling can occur as the moisture vacates the tile.
This material needs to be sealed multiple times before grouting to minimize or eliminate staining from the grout. Topical sealers, penetrating sealers, and grout releases are used to minimize staining. Multiple sealer coats will be required for success. Cementitious grouts have pigments encapsulated in the grout that are conducive to staining the proper precautions haven’t been taken. Some of the high-performance grouts and urethanes can help also.
It is advisable to do a sample of the tiles with some loose pieces before tackling the area installed. Again, following the manufacturer instructions is pivotal for success.
If some of the tiles become stained, it may be next to impossible to remove the staining. We have had some success with sanding the surface of the tiles to remove stains when necessary. You need to use silicone carbide 200 grit sandpaper to refinish the face. If you use anything higher (for example 320, 400 or 600 grit) it will enhance the shine on the tile of the area in question and leave you with even more issues.
Are cement tiles prone to cracking? How do contractors avoid this?
Substrate preparation is important. Do not be fooled by the thickness of the tile – these are prone to cracking if the substrate is not prepared properly. The edges are fragile and can chip if not handled with care.
Encaustic/cement tiles are not standard thickness. How should contractors manage this when setting with other tile products to reduce the variance in the finished install?
You must account for variation in the product. Do a mockup to unveil customer expectations and show the irregularities that are inherent with this type of tile. Heavy-tile mortars allow the buildup necessary to accommodate the different thicknesses. Leveling devices can be used as an aid to help with the different thicknesses, although they are not recommended due to possible chipped edges when removing the clips.
What are the recommended setting/ grouting products to use with hydraulic/cement tiles?
First and foremost, follow the manufacturer’s installation instructions on setting and grouting. If none are available, check with your distributor. There are no ANSI standards with this specialty product yet. Ask distributors and other reputable contractors what they have done for a successful installation. Use a premium heavy-tile mortar for non-sagging. A premium grout will help minimize or prevent staining. Again, a mockup is encouraged help avoid issues when the actual installation takes place.
Does grout stick more readily to the surface of cement tiles? How do you avoid this?
Grout can stick to the tile if not cleaned properly and in a timely manner. Since the tile is porous, the moisture is being pulled into the tile if not sealed or a grout release is not used. Follow the manufacturer instructions on sealing and grouting. If unsure, do some test pieces to duplicate the grouting process. Some manufacturers recommend several coats of sealer. Seal until the material will not absorb any more sealer. You should build this step into your price for labor and materials. Never leave a grout haze on the tile. The tiles are sensitive to acid, and should be avoided at all costs if the tiles will not be cleaned correctly.
Some of the cement tiles I’ve seen have very detailed, textured surfaces. How do you keep these clean during the installation?
Some tiles are incredibly detailed and have one to eight different colors and a multiple number of patterns. The texture is different from manufacturer to manufacturer. Sealing or using grout release prior to installation will be paramount to the success of the installation. Again, a mockup will help alleviate issues during the installation.
What other challenges do these products pose to installers?
Customers’ expectations are always the main concern. Each job presents its own issues for the installer. Following manufacturer installation instructions and guidelines is necessary for a proper install. Consultation with the mortar and grout manufacturers is also highly recommended. Check for moisture content levels of the tile after obtaining the shipment. Do a mockup of the tile, sealers, and grout choices. When all instructions are followed correctly, you have much lower chance for a failed installation.

John Cox
John Cox is the owner and president of Cox Tile, Inc., of San Antonio, Texas. Cox is a lifetime Texas resident and has been in the tile industry since 1975. He launched Cox Tile in 1981 as a full-service, high-quality tile contracting company, and personally oversees all projects and work crews to ensure the quality of workmanship and complete customer satisfaction.


