
The National Tile Contractors Association’s NTCA Reference Manual contains a wealth of tile installation information that is helpful—and, many times, financially beneficial. NTCA members receive it as part of their annual dues, and non-members are encouraged to join to likewise reap this benefit. In either case, the crucial directive is to open the book and use the contained information in the daily operation of your business.
Numerous categories in the NTCA Reference Manual are helpful, but “Chapter 9, Specialized Installation Procedures,” can assist the installer with jobsite conditions that often do not become problematic issues until after completion. Having this knowledge beforehand helps the installer ask questions and receive answers prior to installation, along with the option of saying “no” if the jobsite conditions are not up to industry standards.
Some of the specialized installation procedures covered in Chapter 9 include, but are not limited to:
- Mitering tile and stone precautions
- Thin-brick grouting
- Hot and cold weather tilings
- Using fast-setting mortars to reduce downtime in freezers or coolers
- Radiant heat for tile and stone installations
- Exterior installations like balconies, decks, and patios
- Pavers and GPTP pavers on pedestals
- Shower installations
- Steam rooms
- Submerged installations
We will look at three topics that seem simple enough but can get extremely expensive if the situation goes south.
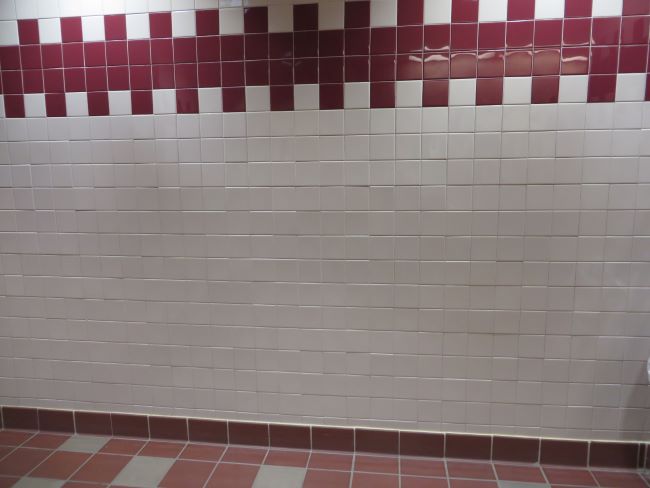
Critical lighting
This topic is probably the most deceptive on this list. The tilework is complete and looks great…until the permanent lighting is installed. Then a problem becomes evident. Many times, it’s a problem that may require replacement. However, replacing the tile on a substrate that was not properly prepared according to American National Standards Institute (ANSI) requirements will, most of the time, yield questionable results.
This section uses a combination of “Causes and Corrections, Tips for the Tile Contractor,” a sample letter to the appropriate person, and pictorial examples of tilework that is unacceptable under certain lighting conditions.
When natural light or artificial light shines on walls and floors at an angle almost parallel to tile surfaces, normal and acceptable inconsistencies in the tilework are highlighted by shadows that exaggerate these conditions. This could be sunlight casting across the floor at sunrise/ sunset or when the light source is at the intersection of the wall and ceiling. The corrections include following ANSI A108.02-4.2, which provides guidance on the flatness of the substrate depending on the tile size. As the tile size increases, the substrate flatness must also increase.
This chapter offers a “Tips for the Tile Contractor” section with excellent advice. For instance, it advises contractors to determine if the tile installation will be affected by the types of lighting in question, with suggestions to either visit the site or review the electrical drawings to determine the intended placement of the lighting in the areas to receive tile. It also recommends informing the general contractor, architect, and/or owner, in writing, of the anticipated problem.
Another tip is to have the permanent lighting installed before the tile installation or place your temporary lighting directly above the tile installation, and to provide a mockup with actual lighting, as noted in ANSI A108.02-2.2. Upon approval from the appropriate party, obtain a signed document acknowledging acceptance.
Lippage-control devices
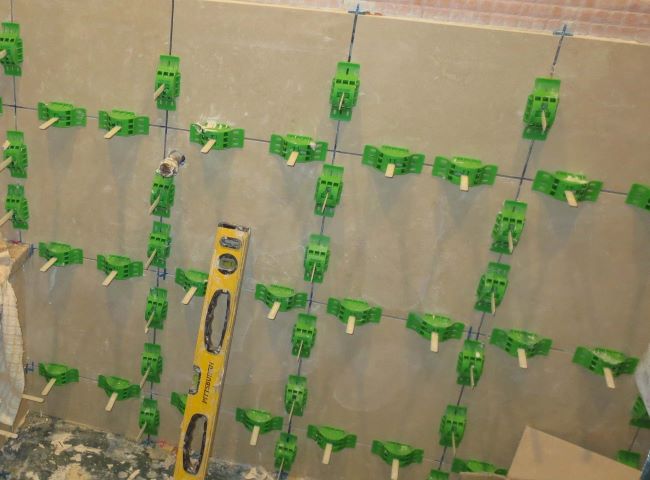
This section in Chapter 9 states: “Lippage-control systems, primarily used with large format tiles, are specifically designed to help reduce lippage within the tile assembly.” Here are some do’s and don’ts from an extensive listing in the chapter:
DO’s:
- Follow the manufacturer’s directions.
- Complete proper substrate preparation to meet substrate tolerances before installing the tile.
- Always use an appropriately-sized notched trowel to achieve proper coverage and ensure corners and edges are fully supported with setting material.
- Use spacers or grid lines for establishing the grout joint width. Never use the lippage-control system as a tile spacer; it could pinch the tile edges and cause damage when removing. Always leave free space around the lippage-control strap/clip when installing.
DON’Ts
- Don’t scratch tile or stone surfaces with dirty lippage-control devices. Be sure to use clean caps, wedges, rubber feet, or other accessories.
- Don’t expect a lippage-control device to correct a poor installation.
- Don’t move the lippage-control device after it has been placed. This will displace mortar and leave a void, potentially causing a failure in the tilework.
Be sure to consult this chapter to get the best results from lippage-control devices on your project.
Pebble shower floors
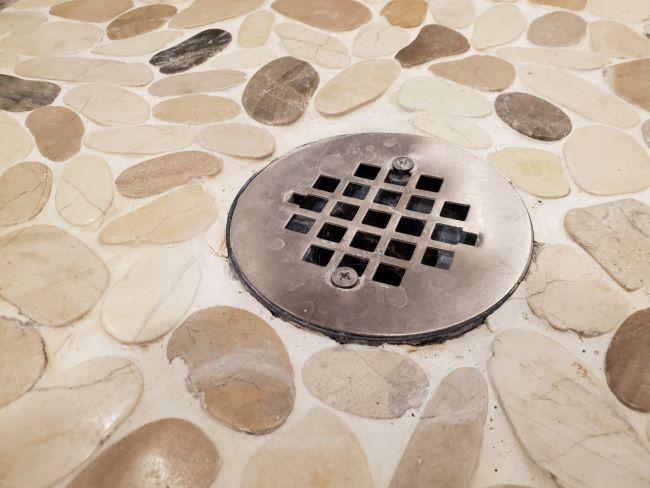
While the popular pebble mosaic trend continues to grow, the irregular shapes of river rock, marble, glass, and stone present challenges. Planning and mockups can be critical for success and the customer’s approval. It is recommended that experienced professionals with a knowledge of these types of installations, materials, and proper drainage should tackle them.
Chapter 9 states, “The surface of these mosaics can be flat or rounded, much like those found in nature. Because of the unique shape of these mosaics and the way they are mesh mounted, it can be very difficult to blend the sheets without exhibiting irregular grout lines or the grid of mosaic sheet lines from one sheet to the next. For this reason, a mockup is recommended for approval by the owner. When the mockup is not acceptable, some installers cut the mesh on which the mosaics are mounted, or frequently remove stones from the sheets, blending them by hand. Most would agree the result is better looking, but this process is very time consuming and costly.”
This section in Chapter 9 also covers recommendations on using foam-based shower pans, slope suggestions to avoid incomplete draining of water from the pebbles, mortar selection and application, advantages of installing wall tile first when using pebbles, plus scribing and positioning of cut edges of the stones, as well as considerations for grouting, drying time, and pre-sealing.
In fact, the section reminds installers that grouting rounded pebble stones can be very tedious and time consuming. With grout joints varying from 1/16” to over 1/2”, keeping the grout surface flat and consistent requires extensive experience to achieve an acceptable result. Since the joint width varies greatly, verify that the grout manufacturer will endorse this application.
This is another situation where a mockup is crucial. It shows the end user how the final assembly will appear and helps them understand that some water may be trapped behind a pebble and not be completely evacuated. A signed acknowledgement will be extremely helpful in the event of owner amnesia.
This review of Chapter 9 has barely scratched the surface of the available information. Using the NTCA Reference Manual to assist in day-to-day installation work can solve problems before they occur and save the installer a significant amount of time and money.

Scott Carothers
Scott Carothers is the Acdemic Director for the Ceramic Tile Education Foundation (CTEF) and is responsible for the creation of the Certified Tile Installer (CTI) program, and is involved in the creation of the Advanced Certifications for Tile Installers (ACT) program as well as providing training to others in the tile industry.
Carothers has been involved in the ceramic tile industry for nearly 40 years and was the owner of a successful retail and installation firm prior to CTEF. He has served as President and Chairman of the Board of the National Tile Contractors Association (NTCA), Chairman of the NTCA Technical Committee, was named the NTCA Tile Person of the Year in 2005, and the NTCA Ring of Honor recipient in 2013. He is a voting member of the ANSI and the TCNA Handbook committees.