Many folks, including some tile installers, believe that properly preparing the substrate is a waste of time and money. However, substrate prep, when properly completed, can actually allow the project to be completed in less time while yielding superior quality and less aggravation.
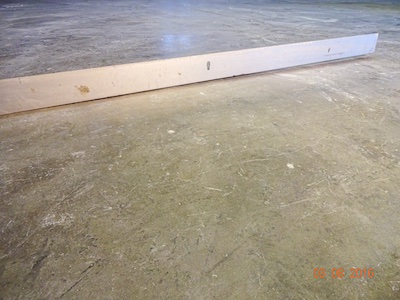
Tools of the trade
Straight edges have been the go-to tools for determining and establishing a flat—and possibly a level—substrate on horizontal substrates. However, the lasers available today offer a faster and more accurate method to determine the required plane. On vertical substrates, a straightedge will determine the flatness of the wall. When a straightedge is used in combination with a level, a plumb wall can be achieved.
Substrate conditions
The Substrate Requirements section of the Tile Council of North America (TCNA) Handbook decrees that for ceramic tile installations, the maximum allowable floor member live load and concentrated load deflection for framed floor system shall not exceed L/360, where “L” is the clear span length of the supporting member per applicable building code. For natural-stone tile installations, the maximum allowable floor member live load and concentrated loads deflection for wood framed floor systems shall not exceed L/720.
The next consideration to be made when viewing the substrate is determining if any contaminants are present. This list may include a host of items, which we will investigate.
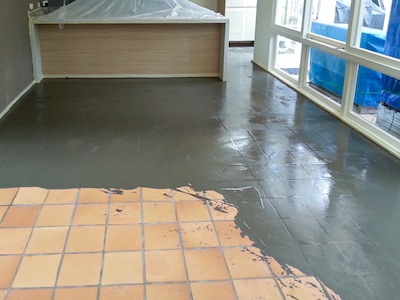
- Existing tile (well bonded or questionable).
- Remaining thinset after the tile removal.
- Adhesive residue and existing asbestos-laden vinyl tile.
- Paint.
- Curing compound, wax or other coating products.
Existing tile: Previously installed ceramic tile that is well bonded to the substrate can be successfully covered with new tile if the face is clean—meaning no surface contaminants—and flat. However, always consult the mortar manufacturer for suitability and recommendations.
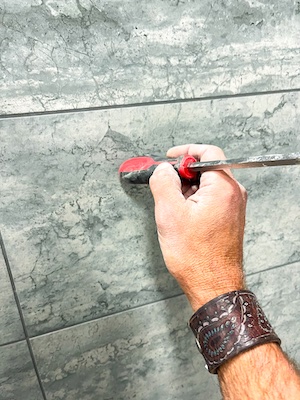
How do you determine if the existing ceramic or porcelain tile is well bonded to the substrate? An easy test can be completed by tapping on the face of the tile with a tapping tool, a smooth metal object, or a golf ball. If there is a tonal difference between solid and hollow sounding areas, further investigation is needed since some waterproofing, crack isolation, or uncoupling membranes may exhibit a different tone when tapped. However, this tone differential does not indicate a lack of bond. To be certain if a tonal difference indicates an unbonded tile, a destructive test of removing a tile may be needed.
Remaining thinset after tile removal: The removal of old thin-set mortar can be a challenge. If the mortar is well bonded and there are no height restrictions, the use of a troweled-on patch or an ANSI A118.16 Flowable Hydraulic Cement Underlayment (FHCU), with the appropriate primer, can provide a flat substrate. If the thinset must be removed, various grinding equipment options should be investigated. If grinding is the selected option, always follow the Occupational Safety and Health Administration’s (OSHA) guidelines for controlling dust and protecting everyone on the site.
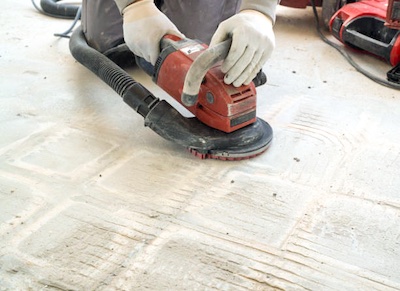
Adhesive residue/asbestos-laden vinyl tiles: Old adhesive (latex or cut-back) residue can be removed by wet scraping to minimize dust. Always check with the adhesive manufacturer to determine the base of the adhesive prior to removing it. Certain old adhesives, specifically cut-back, contain asbestos that, if encountered, should be removed by a qualified, licensed, and insured contractor. Also, if the adhesive is removed by another contractor, be certain that the substrate will allow a proper bond with the setting material. Some contractors use solvents or strippers to remove the adhesive, which may eliminate the residue but could leave an invisible coating that will inhibit the thinset from bonding to the substrate. Use the water drop test to be certain that the substrate will accept moisture and provide an adequate bond.
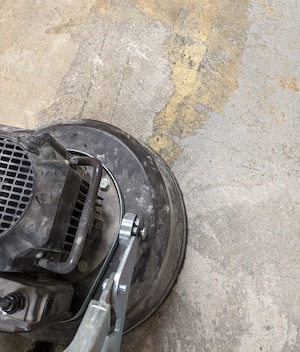
Paint: Existing paint can be tricky. Some mortar manufacturers may allow their thinset to be applied over paint, but be extremely careful. The thinset may bond to the paint, but the bond of the paint to the substrate is questionable. The best method here is to completely remove the paint by shot blasting or bead blasting. Using solvents or strippers to remove the paint is not acceptable.
Curing compounds, wax, or other coating products: Do not use acid to clean or prep a concrete substrate—ever! Acids provide inconsistent results and have little effect on most sealers, coatings, curing compounds, adhesives, oil, or grease.
Additionally, if acid is selected to “clean” the concrete and is rinsed twice with clear water, the problem is only beginning. When the rinse water evaporates, it leaves the acid crystals on the surface, and they will reactivate when they encounter water. That water could be another rinse, but most likely it will be water mixed with thin-set mortar. The re-energized acid will begin to compromise the mortar and lead to a potential failure.
Substrate corrections
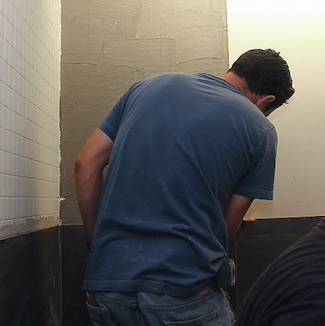
Checking the substrate for flatness, both horizontal and vertical, is critical to success. Depending on the tile size, the flatness requirements differ.
- Per ANSI A108.02-4.2.1, “For tiles with all edges shorter than 15” (0.38 m), the substrate shall have a maximum allowable variation of 1/4” in 10’ (6 mm in 3 m).”
- ANSI A108.02-4.2.2 states, “For tiles with at least one edge 15” (0.38 m) or longer, the substrate shall have a maximum permissible variation of 1/8” in 10’ (3 mm in 3 m).”
If the substrate does not meet these requirements, a troweled-on patch may be sufficient, but if the horizontal surface requires extensive areas of repair, the use of an ANSI A118.16 FHCU with the appropriate primer applied prior to the substrate can provide excellent results.
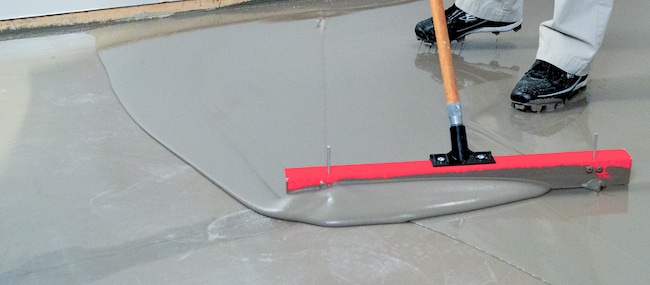
When the specifications call for the substrate to be flat and level, the use of an FHCU with primer will do an excellent job. To ensure the level plane, use hot glue to fasten the clip of a lippage control system to the substrate. Set up a laser at the desired height, and use diagonal pliers to cut the clips at the proper elevation. The FHCU is then flowed to the top of the clip.
This list, although not completely comprehensive, will yield satisfactory results and save time. Think about it before taking shortcuts.

Scott Carothers
Scott Carothers is the Acdemic Director for the Ceramic Tile Education Foundation (CTEF) and is responsible for the creation of the Certified Tile Installer (CTI) program, and is involved in the creation of the Advanced Certifications for Tile Installers (ACT) program as well as providing training to others in the tile industry.
Carothers has been involved in the ceramic tile industry for nearly 40 years and was the owner of a successful retail and installation firm prior to CTEF. He has served as President and Chairman of the Board of the National Tile Contractors Association (NTCA), Chairman of the NTCA Technical Committee, was named the NTCA Tile Person of the Year in 2005, and the NTCA Ring of Honor recipient in 2013. He is a voting member of the ANSI and the TCNA Handbook committees.